
Gully SMART supports importing Wincan CCTV Surveys if it has been exported correctly from Wincan. This can be done through the Data Exchange menu in Wincan by selecting Export. The data should be exported to WRC4 or WRC5 format. Please see your Wincan Manual for details.
For this process to work, your crews must have used the correct references when recording the survey in the Gully SMART App, or when coding the survey in WincanVX, you must have used the correct KaarbonTech reference numbers. You can also Record the CCTV surevy in the Kaarbontech App.
The assets should also already be mapped in the KaarbonTech system.
If you have not yet mapped the assets, please see Adding an Asset in the Gully SMART app, or to add assets in the office system, please see the video tutorial on Adding an asset to the Gully SMART System. Remember to add both the start and end nodes for each survey, and the channels connecting them.
Importing a CCTV Survey
From the main menu, click Operations.
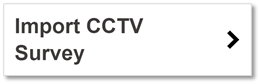
Click Import CCTV Survey.
Select the .XML document that you have exported from Wincan and click Upload file. Please note that you should not use an apostrophe in the name of the project or the XML file.
The XML Project file will be scanned for asset references to match to the assets in the system, and should match to the data entered previously in either the CCTV Survey within the app, or coded into WincanVX. The results of the scan will be displayed for each section of the uploaded survey.
Successfully matched surveys will appear listed in black. A survey with any errors will have a title in red. You can find the error description near the bottom of the survey information with *ERROR:
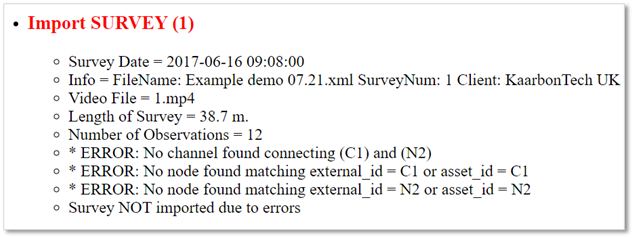
If the error is No channel found or No Node Found, check the asset exists on the map. if the Start and end nodes, or the channel connecting them do not exist, they will need to be added. Add the start/end node reference numbers to Wincan and export the data again.
If all assets exist, check the pipe ends are connected to the right channel, and correct in/out at each end. If it does not exist, use the asset IDs from the survey to locate the correct nodes.
If the error is More than one channel exists, check the map and if there is more than one channel mapped between the start and end nodes, you will need to delete one of the channels.
If the error is No node found, check that the node exists on the map and that you have used the correct reference. Make sure that there are nodes at each end of the channel. Use ghost nodes or connectors if necessary.
Once any changes have been made, upload the xml again.
When all checks are complete, upload the .XML again by clicking Load another survey file. The updated xml will overwrite the original version and scan again for the changes.
Uploading Videos and PDF reports
Once there are no errors after uploading the .XML, proceed to upload the Wincan videos

Click the Upload videos button.
Upload videos as MP4 files to make sure they are available quickly. Using another format will cause a long delay. Zip the videos into a zip file but make sure the file is below 1GB in size (ideally below 500MB).
When you have made your selection, click the Upload file button. Do not close or reload the page while the upload process is ongoing.
After the videos are uploaded, they will be processed on the server to remove any audio data, and to recode them into the best format to view in your browser. This may take several hours for large numbers of long video files. If the video is already in the correct format, it will be available within minutes.
When the videos are processed, the CCTV surveys will be added to assets' Previous Records drawers.
Viewing CCTV Surveys on an Asset Page
Click on a channel asset to open its Asset Page.
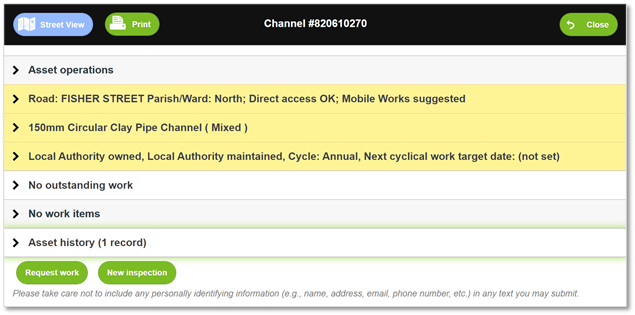
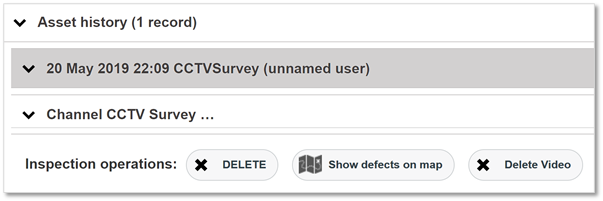
Click on Asset History to view all previous records.
CCTV records can be viewed alongside regular asset history.
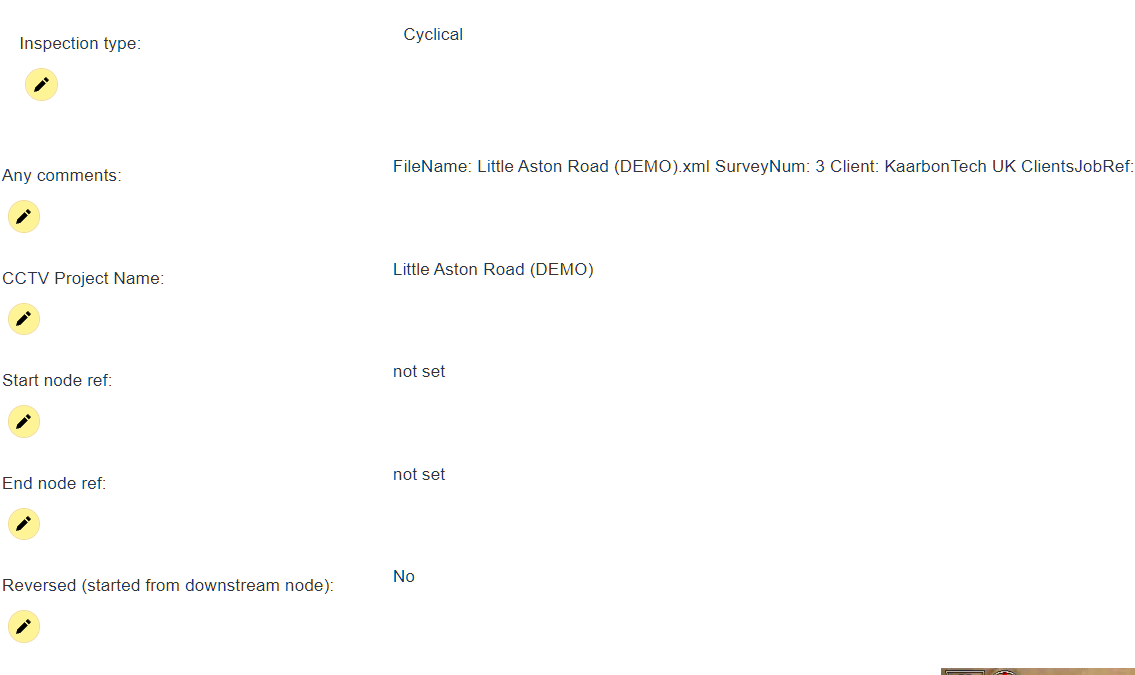
CCTV Inspection information includes its time, type, and if 'reversed' (against the channel's waterflow).
Video observations are listed alongside the CCTV footage.
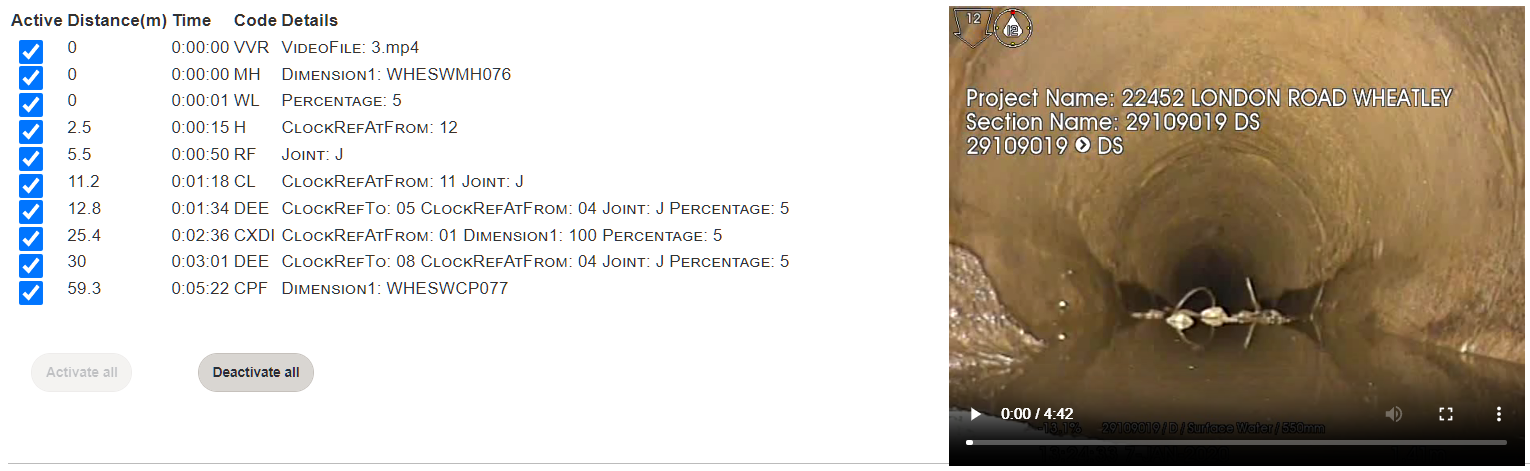
The observations are highlighted when the video reaches that point.
Click on the observations to jump to that point in the video.
To see the actual location of a defect shown in the survey footage, click Show defects on map to display the location on the map. These defects will be visible in line with the OS Mastermap or aerial imagery, whichever visual layer you are using.
See Also: