
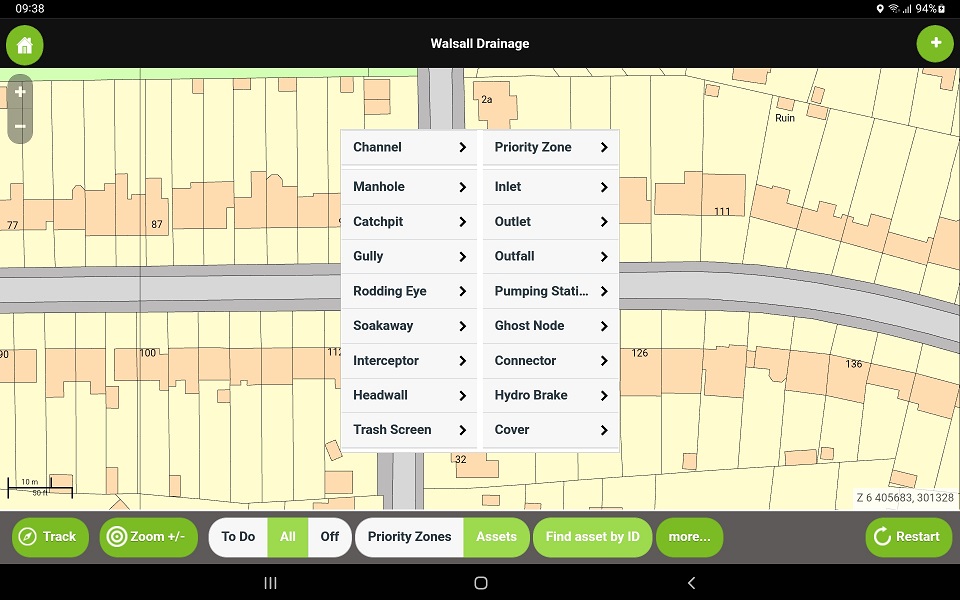
From the map, tap the + icon in the top right corner of the screen.
Note: You must be zoomed in to the Mastermap level where you can see individual buildings to add an asset. If you receive a message to zoom in to add an asset, try zooming in until you can see the map as in the screenshots below.
Select the asset type from the menu.
Adding a Node
Note: The gully only app will not display a menu as it only allows you to add gullies as assets. You will instead be immediately presented with the target as below.
When adding a node asset type, a target will appear on screen, located at your GPS location. Drag the target so that the crosshairs at the centre align with the desired location.
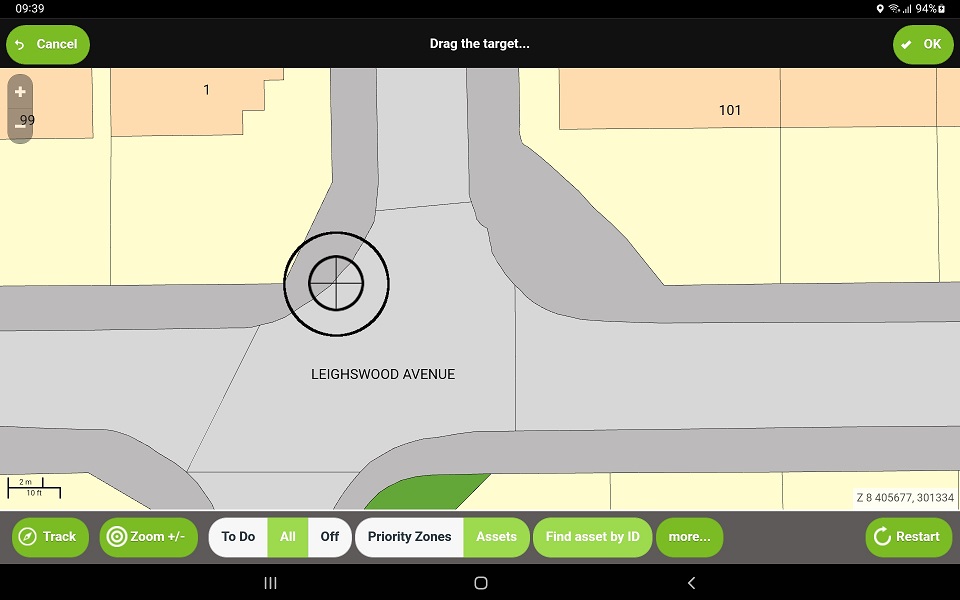
When the target matches the desired location, tap OK to add the node at that location.
Complete the inspection as normal.
Repeat Gully
If you are adding multiple gullies to the system, and you are using a drainage or survey app, you should see the option to Repeat Gully at the bottom of the asset menu.
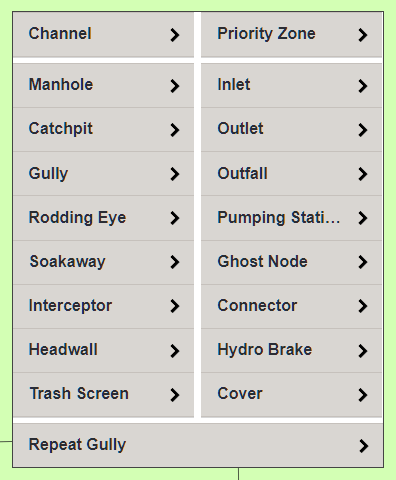
When tapping Repeat Gully, you will add a new asset with the same basic structural information as the previous asset. this means you will not have to re-enter the type of gully, it's construction etc. All Inspection information will be entered as normal.
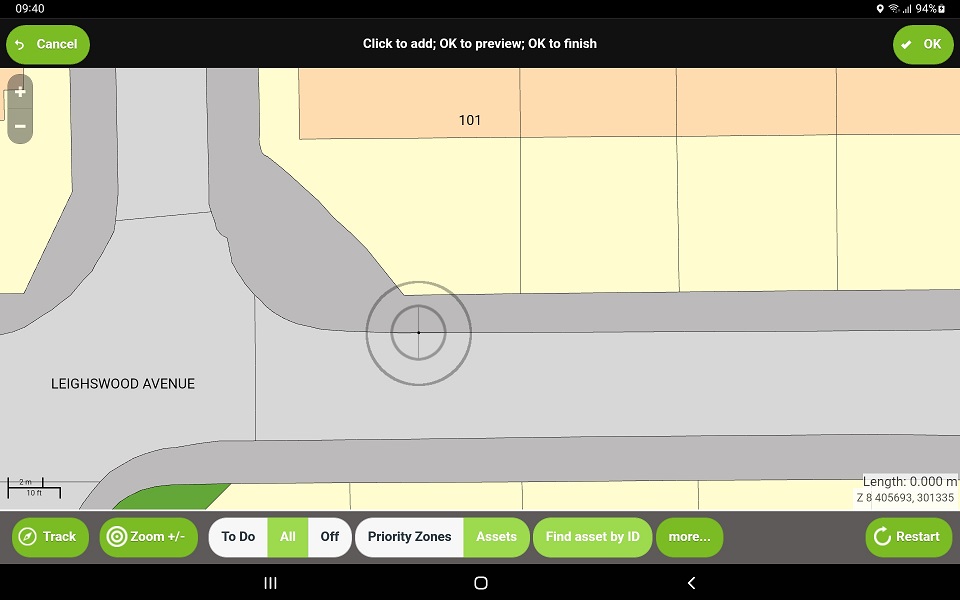
Adding Channels
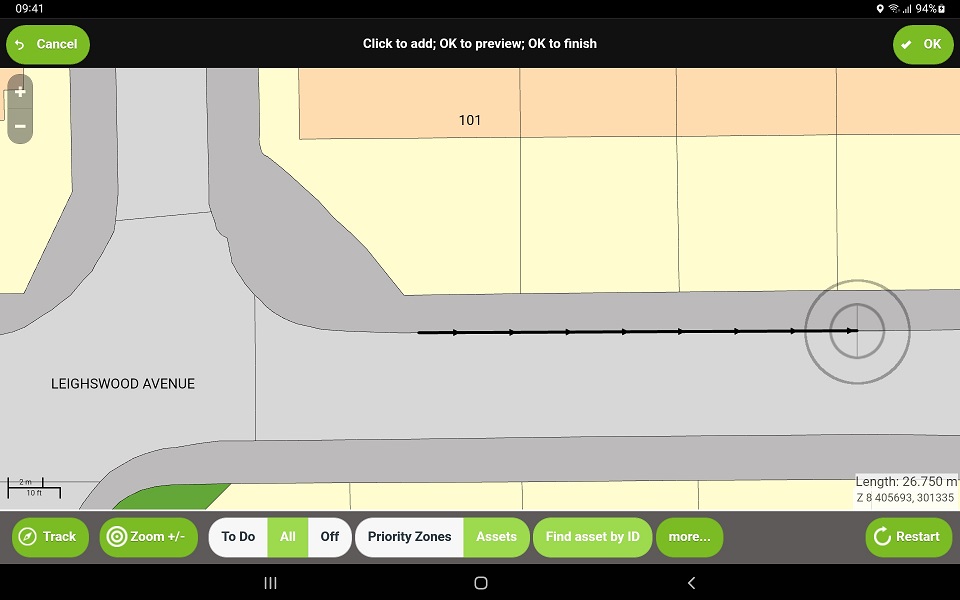
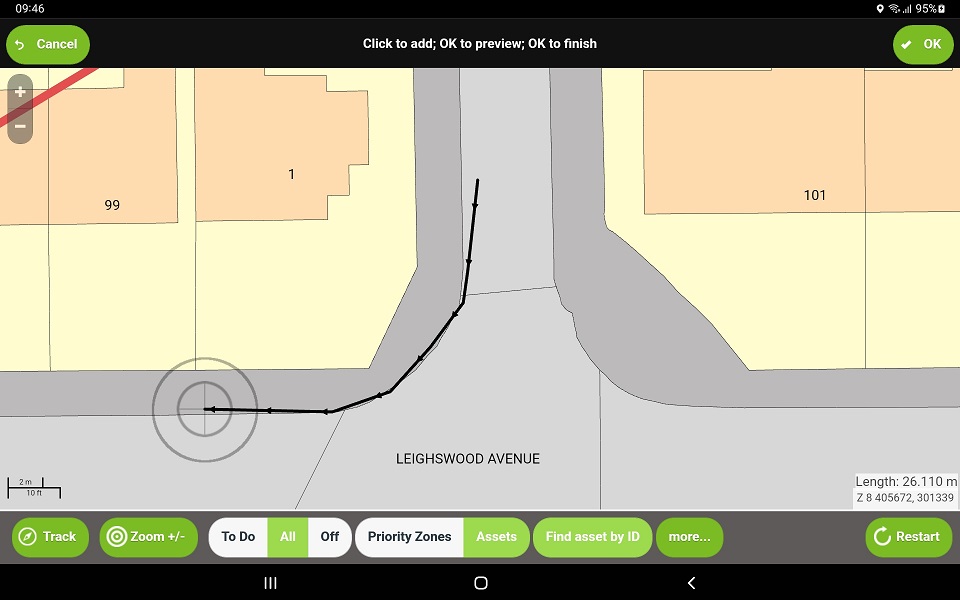
When adding a channel, no target will appear. The system needs you to tap the two ends of the channel to map it. Note that the system always maps in a downstream direction, so when mapping a new channel, start at the upstream end.
Tap the Upstream end of the channel. A target will appear marking the spot.
Tap the downstream end of the channel. A second target will appear.
Tap OK.
If you are happy with the channel, Tap OK a second time..
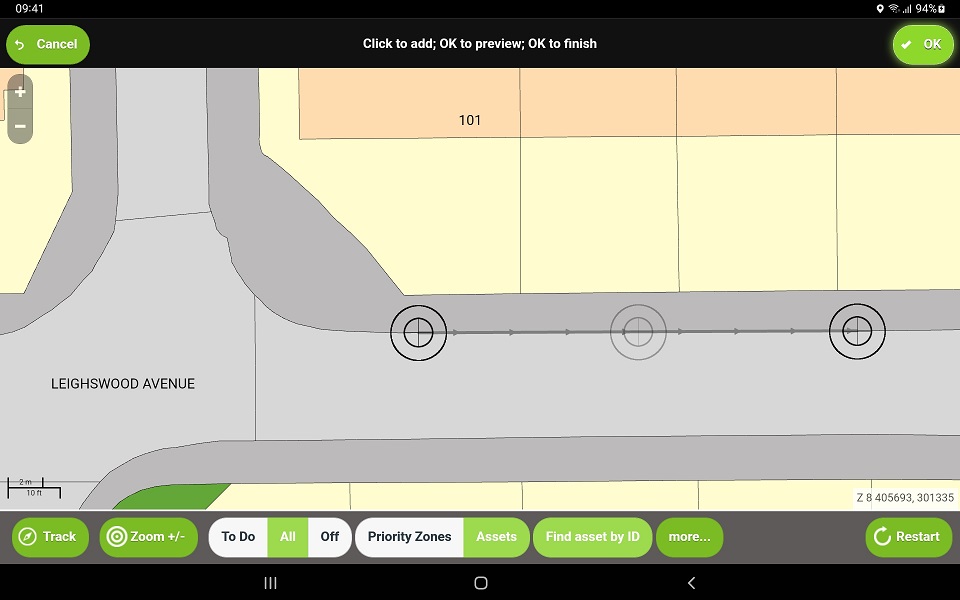
If you are not happy, you can drag the ends to move them. you can also tap and drag the centre grey target to add a bend in the middle.
Adding a Bend in a Channel
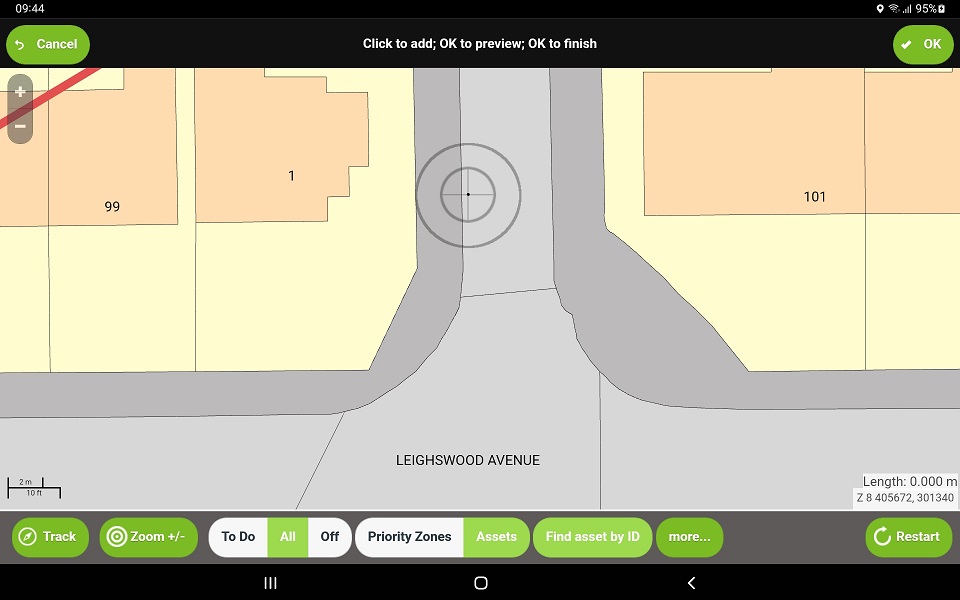
To add a bend in a channel, There are two methods. You can tap and drag the centre target as described above, or you can do it when first adding the channel.
Tap the location of the upstream end of the channel.
Tap the next location of the bend. Repeat this step as necessary
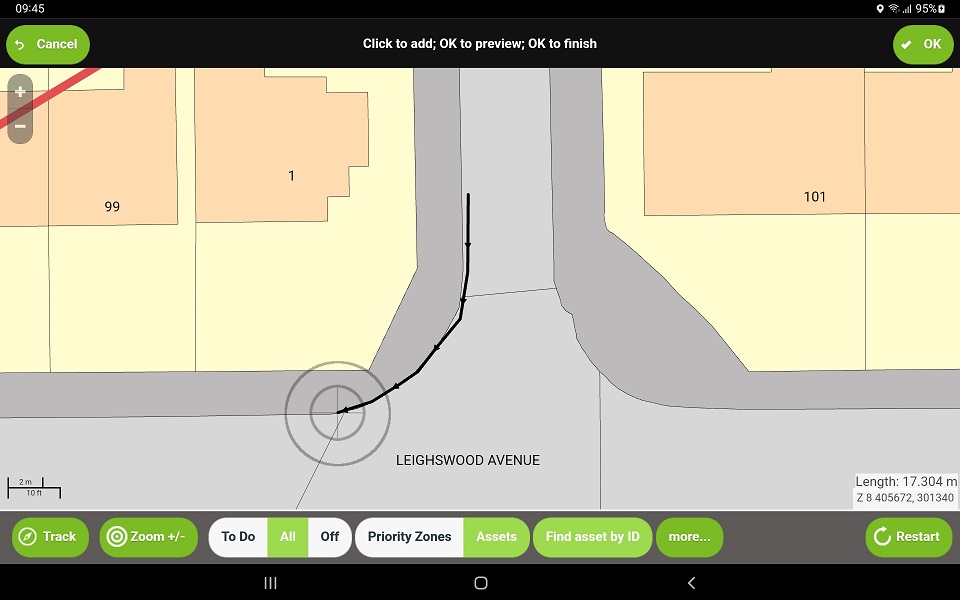
Tap the downstream end of the channel.
Tap OK.
Adjust the channel if necessary by dragging the relevant points, then tap OK again to confirm.
Complete the inspection as normal.
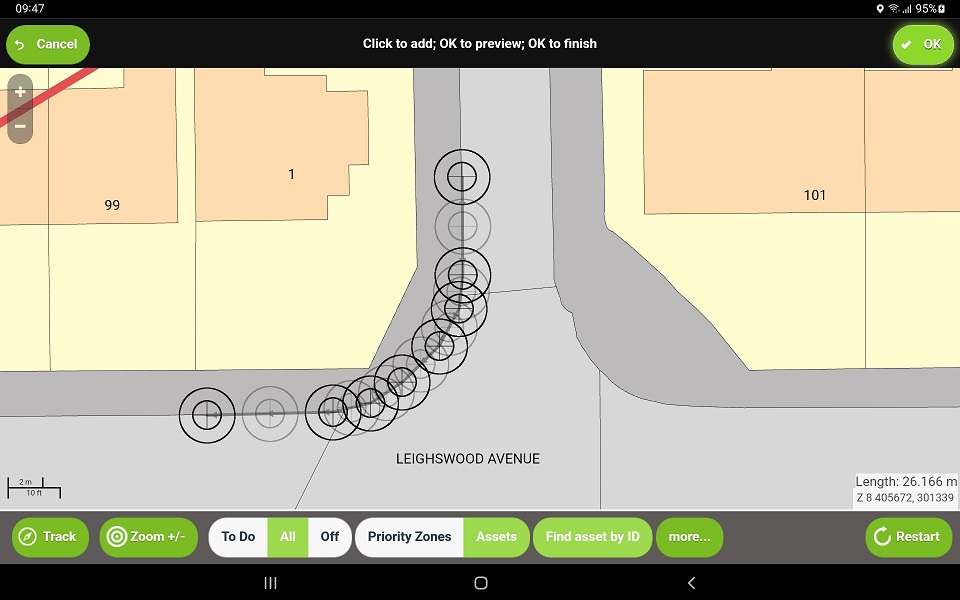
Note: When drawing the channel, you can tap as many points as you need, allowing you to draw curved channels (such as beanie blocks around a kerbline) and not just bends at a single point.
When drawing a channel, the black targets are points that you have created. The grey targets are the centre points between the points you created.
You can tap and drag the black targets to move the points you have added, and tap and drag the grey targets to add new points.