
Making a work package involves setting up the package details, adding specific assets to the package, and then selecting the work to be done.
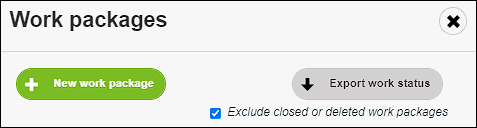
Click New work package.
Setting up the package details
The package first requires a name and date range for the work. The system automatically gives a period of 5 days from the date the package is created, though these can be changed. These dates control when the package will be visible on a field crew device.

Click the Work Package Name box to name the new package.
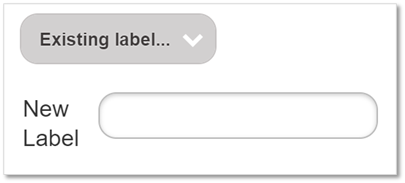
Click Add Label to add the package to a specific folder (e.g. Surveys). This makes it easier to locate later. You may add the package to a new folder, or you can choose from an existing folder by clicking Existing Label.
Click the Start and End boxes to set the period of time for the work to take place. Click the calendar icon to use the calendar view.

Any important information can be added to the Notes box.
Enter a client Order number if required. Client order numbers are sent with the work package data to tablets and are useful for tracking who made a work package and when, or linking to a job that was raised in another management system.
Adding assets
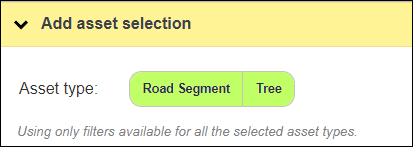
Scroll down to the bottom of the pane and click Add asset selection to access filters to choose the assets.
Add specific assets to the package via location or using filters for assets found throughout the system. For more information on using asset filters, see Using Filters to Locate Assets in Tree SMART.
Once you have set the relevant filters, click Add to package to add target assets to the work package.

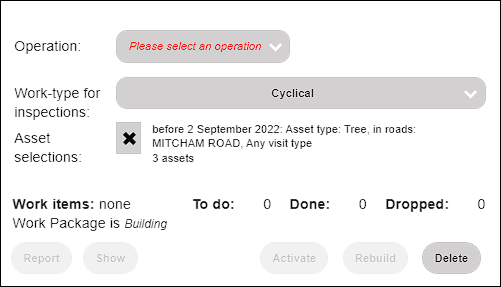
Once you have defined your asset selection, choose the Operation for the work package. The operation is the task that will be assigned to the package.
Similarly to filters, operations available here depend on the asset types you made during your selection, and only operations available to all asset types selected will be present.
If you see very few or no operations available, please try redoing the asset selection, but make sure to deselect any asset types you do not require, such as Road Segments.
Selecting All Outstanding Requests here will add all open service requests on every asset to the work list. There may be multiple service requests for each asset and each open service request will be assigned as a separate task in this package.
Asset selections shows details of the assets within the package.
Work Items shows the work items raised (one for each tree or service request) and their current status. Once the package is activated and work begins, this will begin to change to show how many work items are still to do, done or dropped from the total.
While a work package is building, details can still be altered. This includes the date range, operation and the asset selection.
The following buttons are unavailable until you have selected an operation and the work items have been generated.

Click Report to create a report on the assets within the work package.
Click Show to display the assets on the map.
Click Activate when the package is ready to be allocated.
Unless your system supports the Rebuild function, once a work package is active it can't be edited or modified except for extending the end date. This is because activation is a snapshot of the system at that time.
If your system supports rebuilding, click Rebuild to deactivate the package and rebuild it using the original parameters. This is the only way to edit packages after they have been activated.
Click Delete to delete the package and all its work items. If you delete the package, it cannot be recovered. You will be asked to confirm you wish to delete the package before it is deleted forever.