On the map, Zoom in to the location where the asset is to be added.
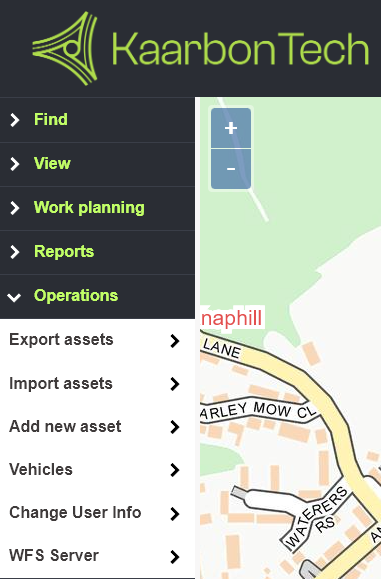
From the main menu, click Operations, then Add new asset.
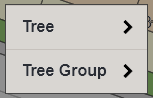
Click to select the asset type from the menu.
Adding Individual Trees
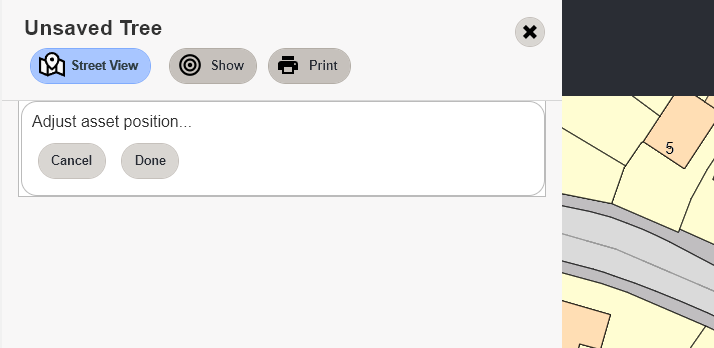
When adding a tree, a target will appear on screen in the centre of the map. Drag the target so that the crosshairs at the centre align with the desired location.
When the target matches the desired location, tap Done in the left-hand menu to add the tree at that location.
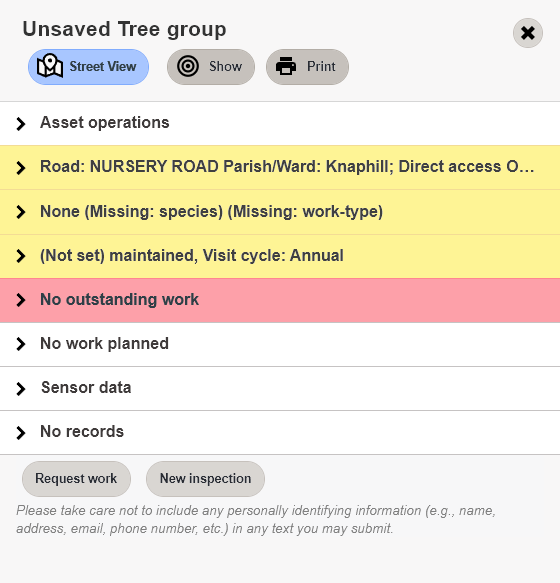
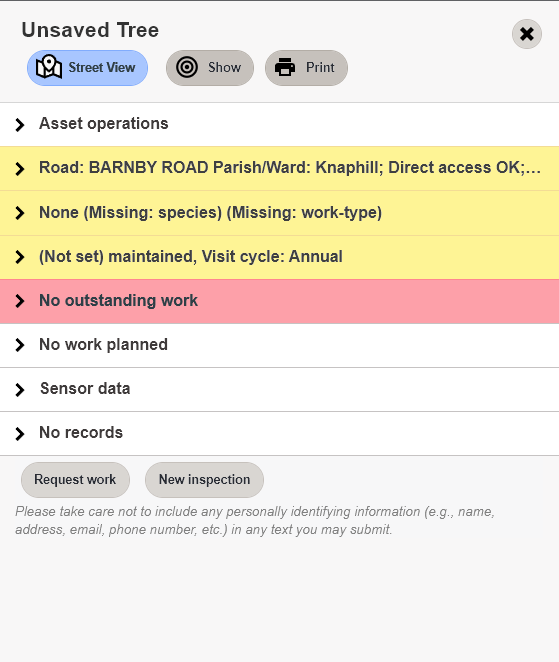
Enter the details of the asset as required.
Adding Tree Groups
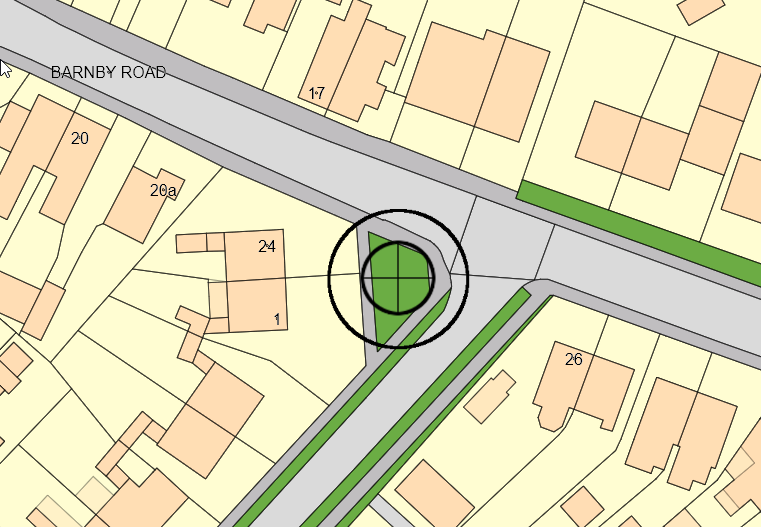
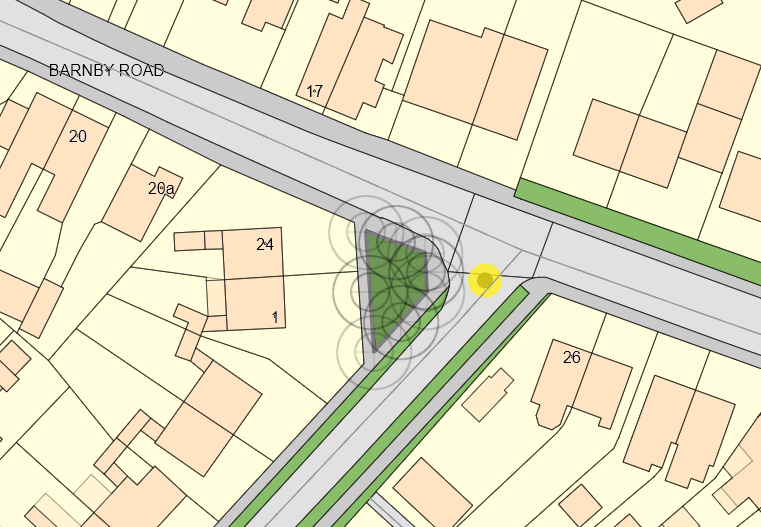
When adding a group, no target will appear. The system needs you to map the extent of the group as a polygon by clicking on each corner and drawing the shape of the group on the map.
Note: Click each point in turn to define the polygon, then double-click when defining the last point to complete the polygon.
As you map out your polygon, please ensure that none of the lines intersect. Intersecting lines can cause an error and the polygon may fail to save.
Click the first point of the polygon you wish to draw. The target will follow your mouse as you click the various points of the polygon.
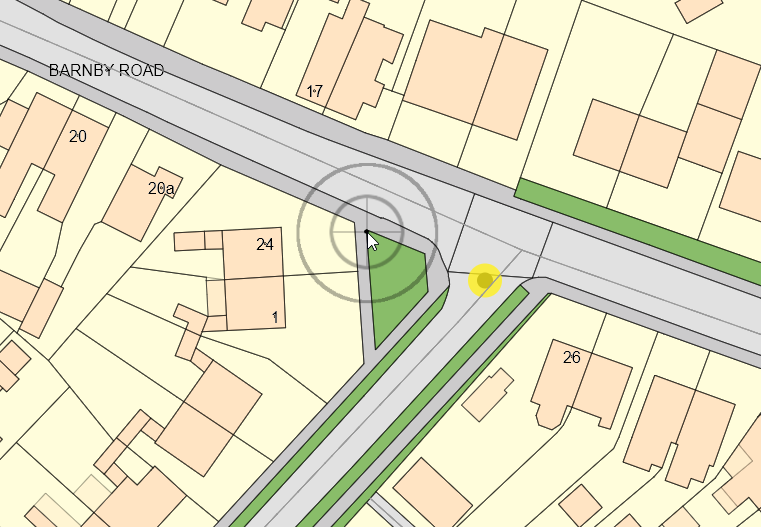
Click the next point of the polygon. Repeat as necessary for the rest of the polygon. When drawing the final point of the polygon, double-click the mouse.
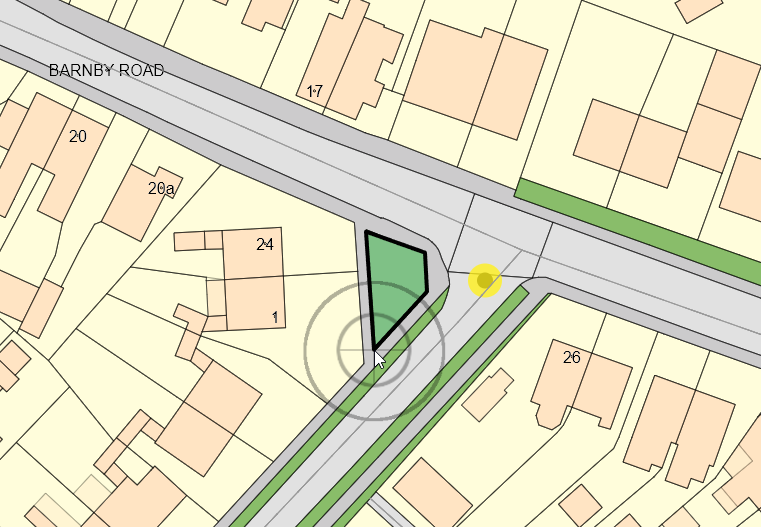
You can now adjust the sides and points of the polygon to fine tune it.
If you are not happy, you can drag the points to move them.
When you are happy with the polygon, click Done.
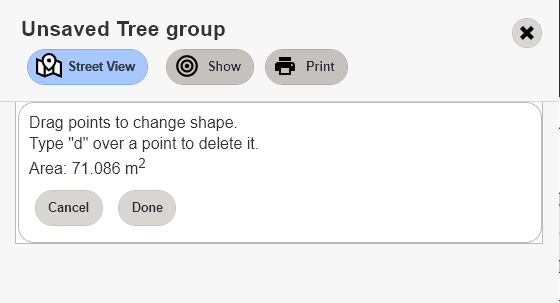
Enter the details as required.