
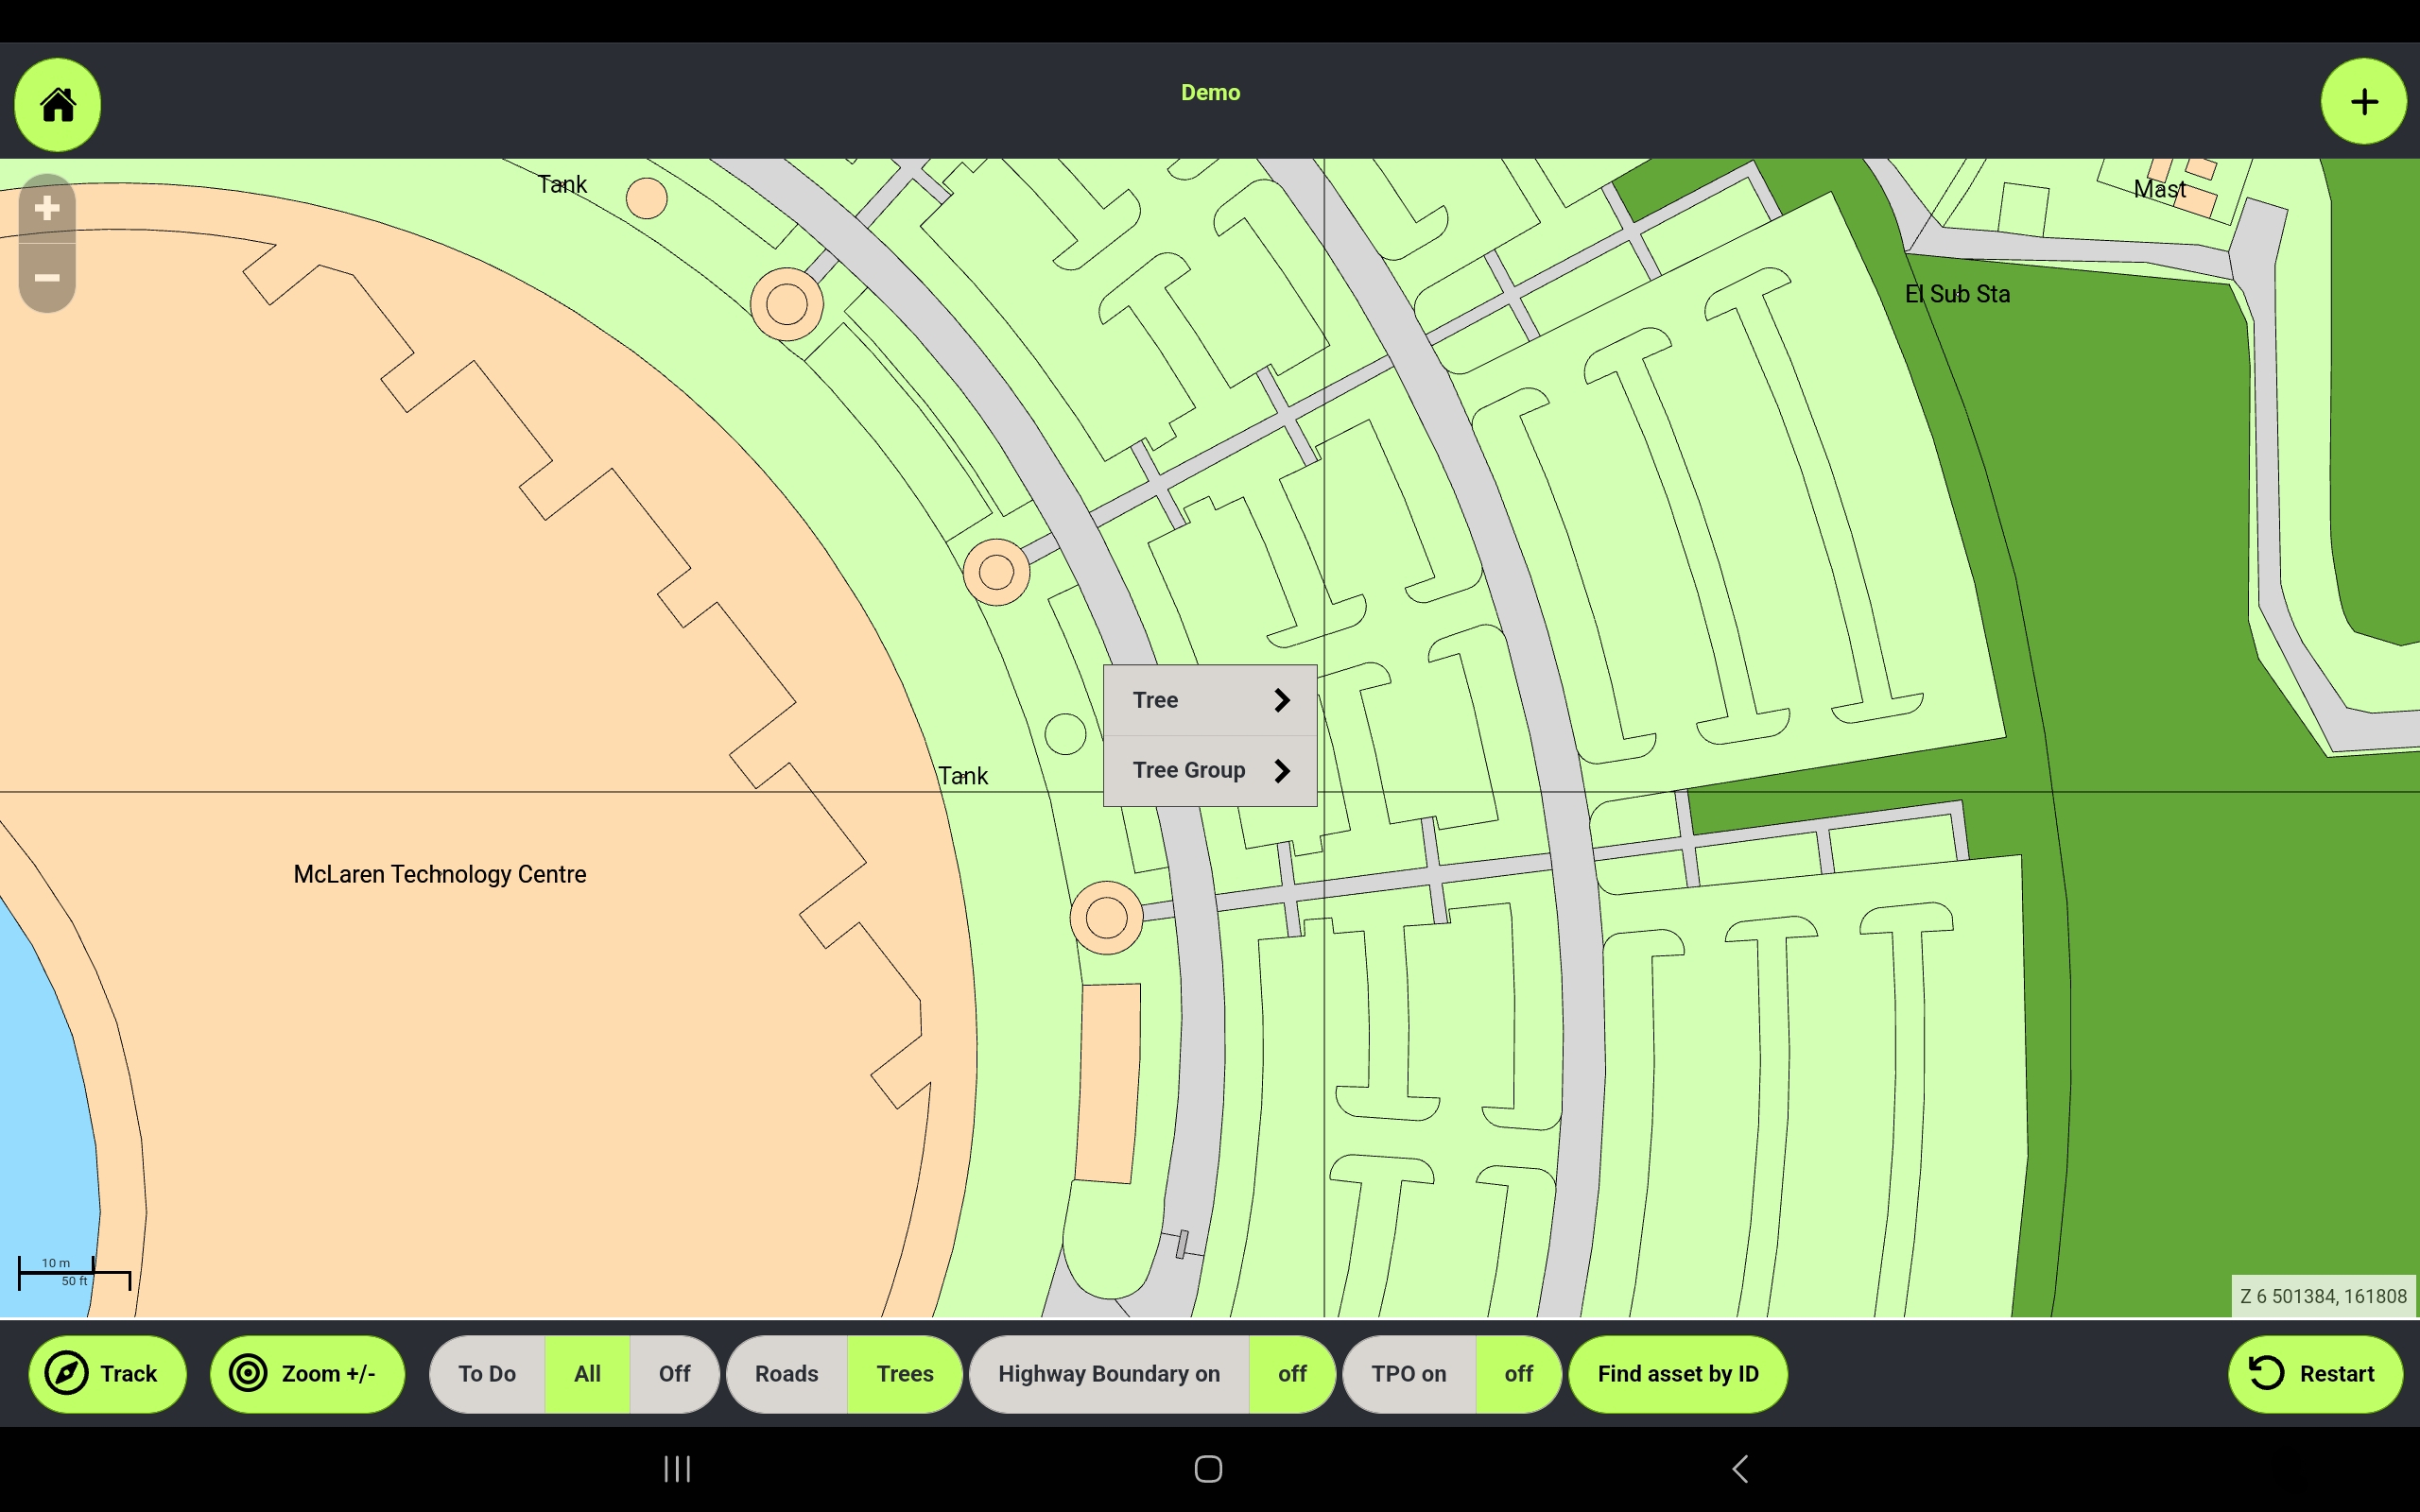
From the map, tap the + icon in the top right corner of the screen.
Note: You must be zoomed in to the Mastermap level where you can see individual buildings to add an asset. If you receive a message to zoom in to add an asset, try zooming in until you can see the map as in the screenshots below.
Select the asset type from the menu.
Adding Individual Trees
When adding an individual tree, a target will appear on screen. Drag the target so that the crosshairs at the centre align with the desired location.
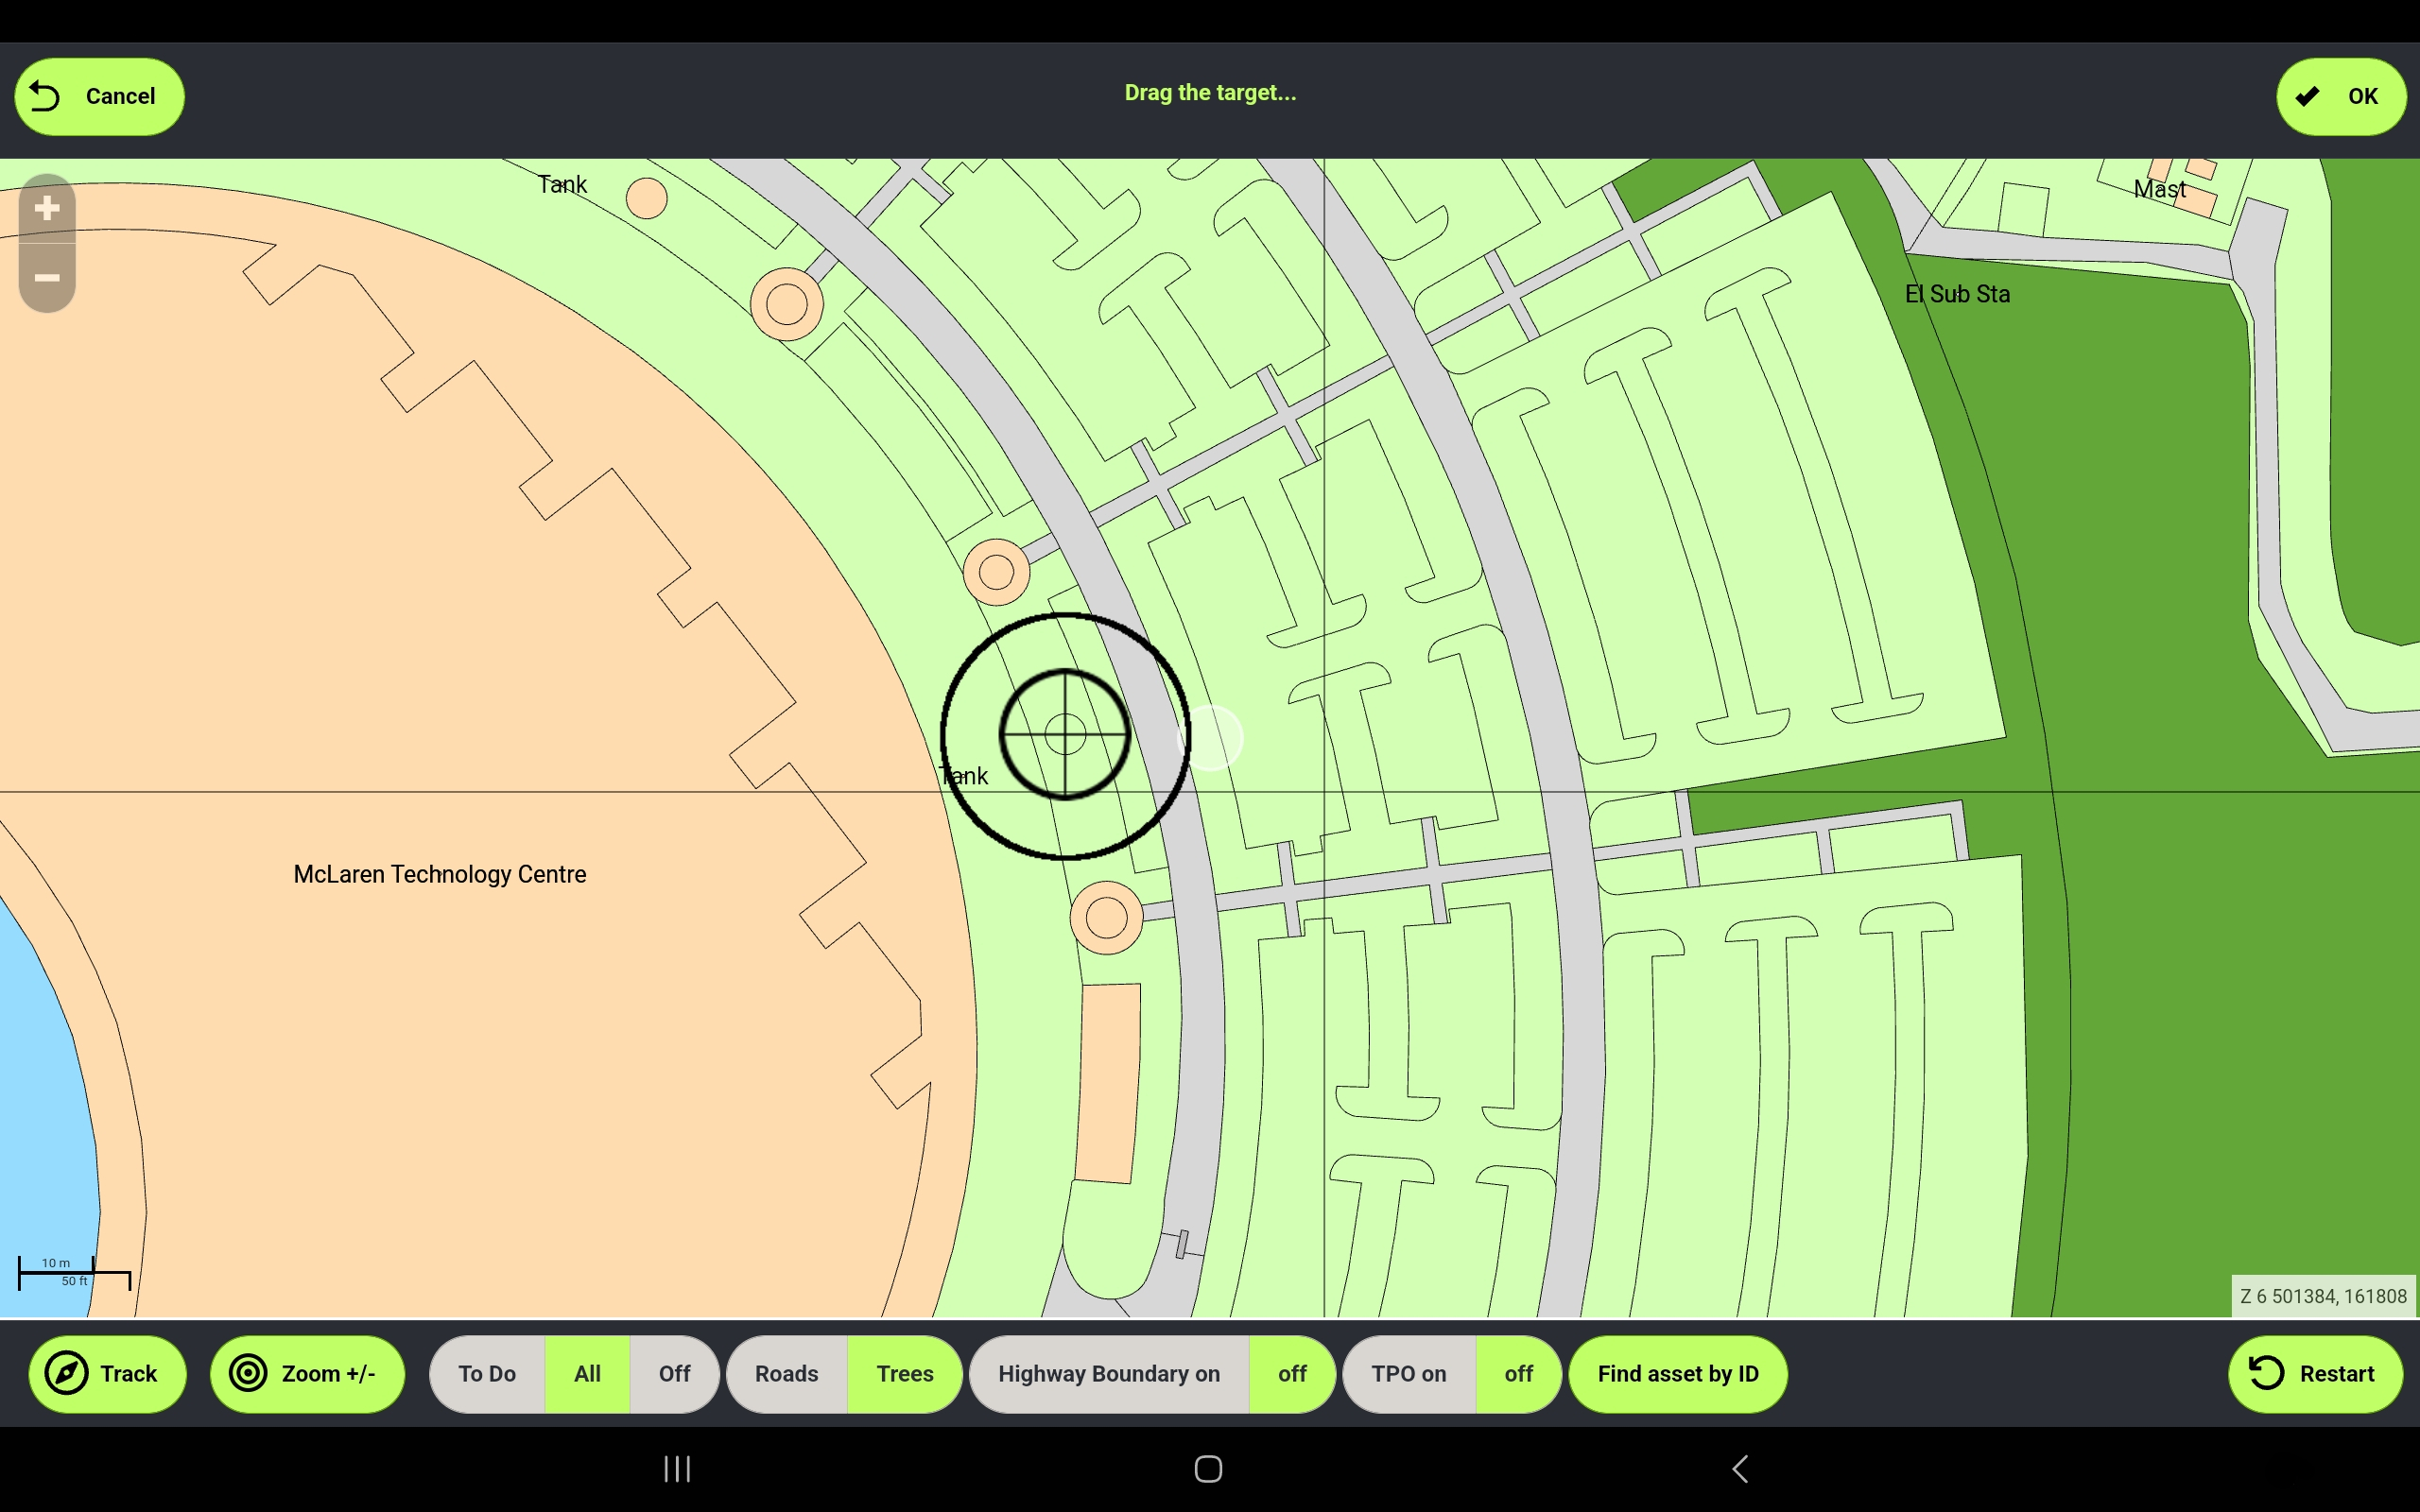
When the target matches the desired location, tap OK to add the tree at that location.
Complete the inspection as normal.
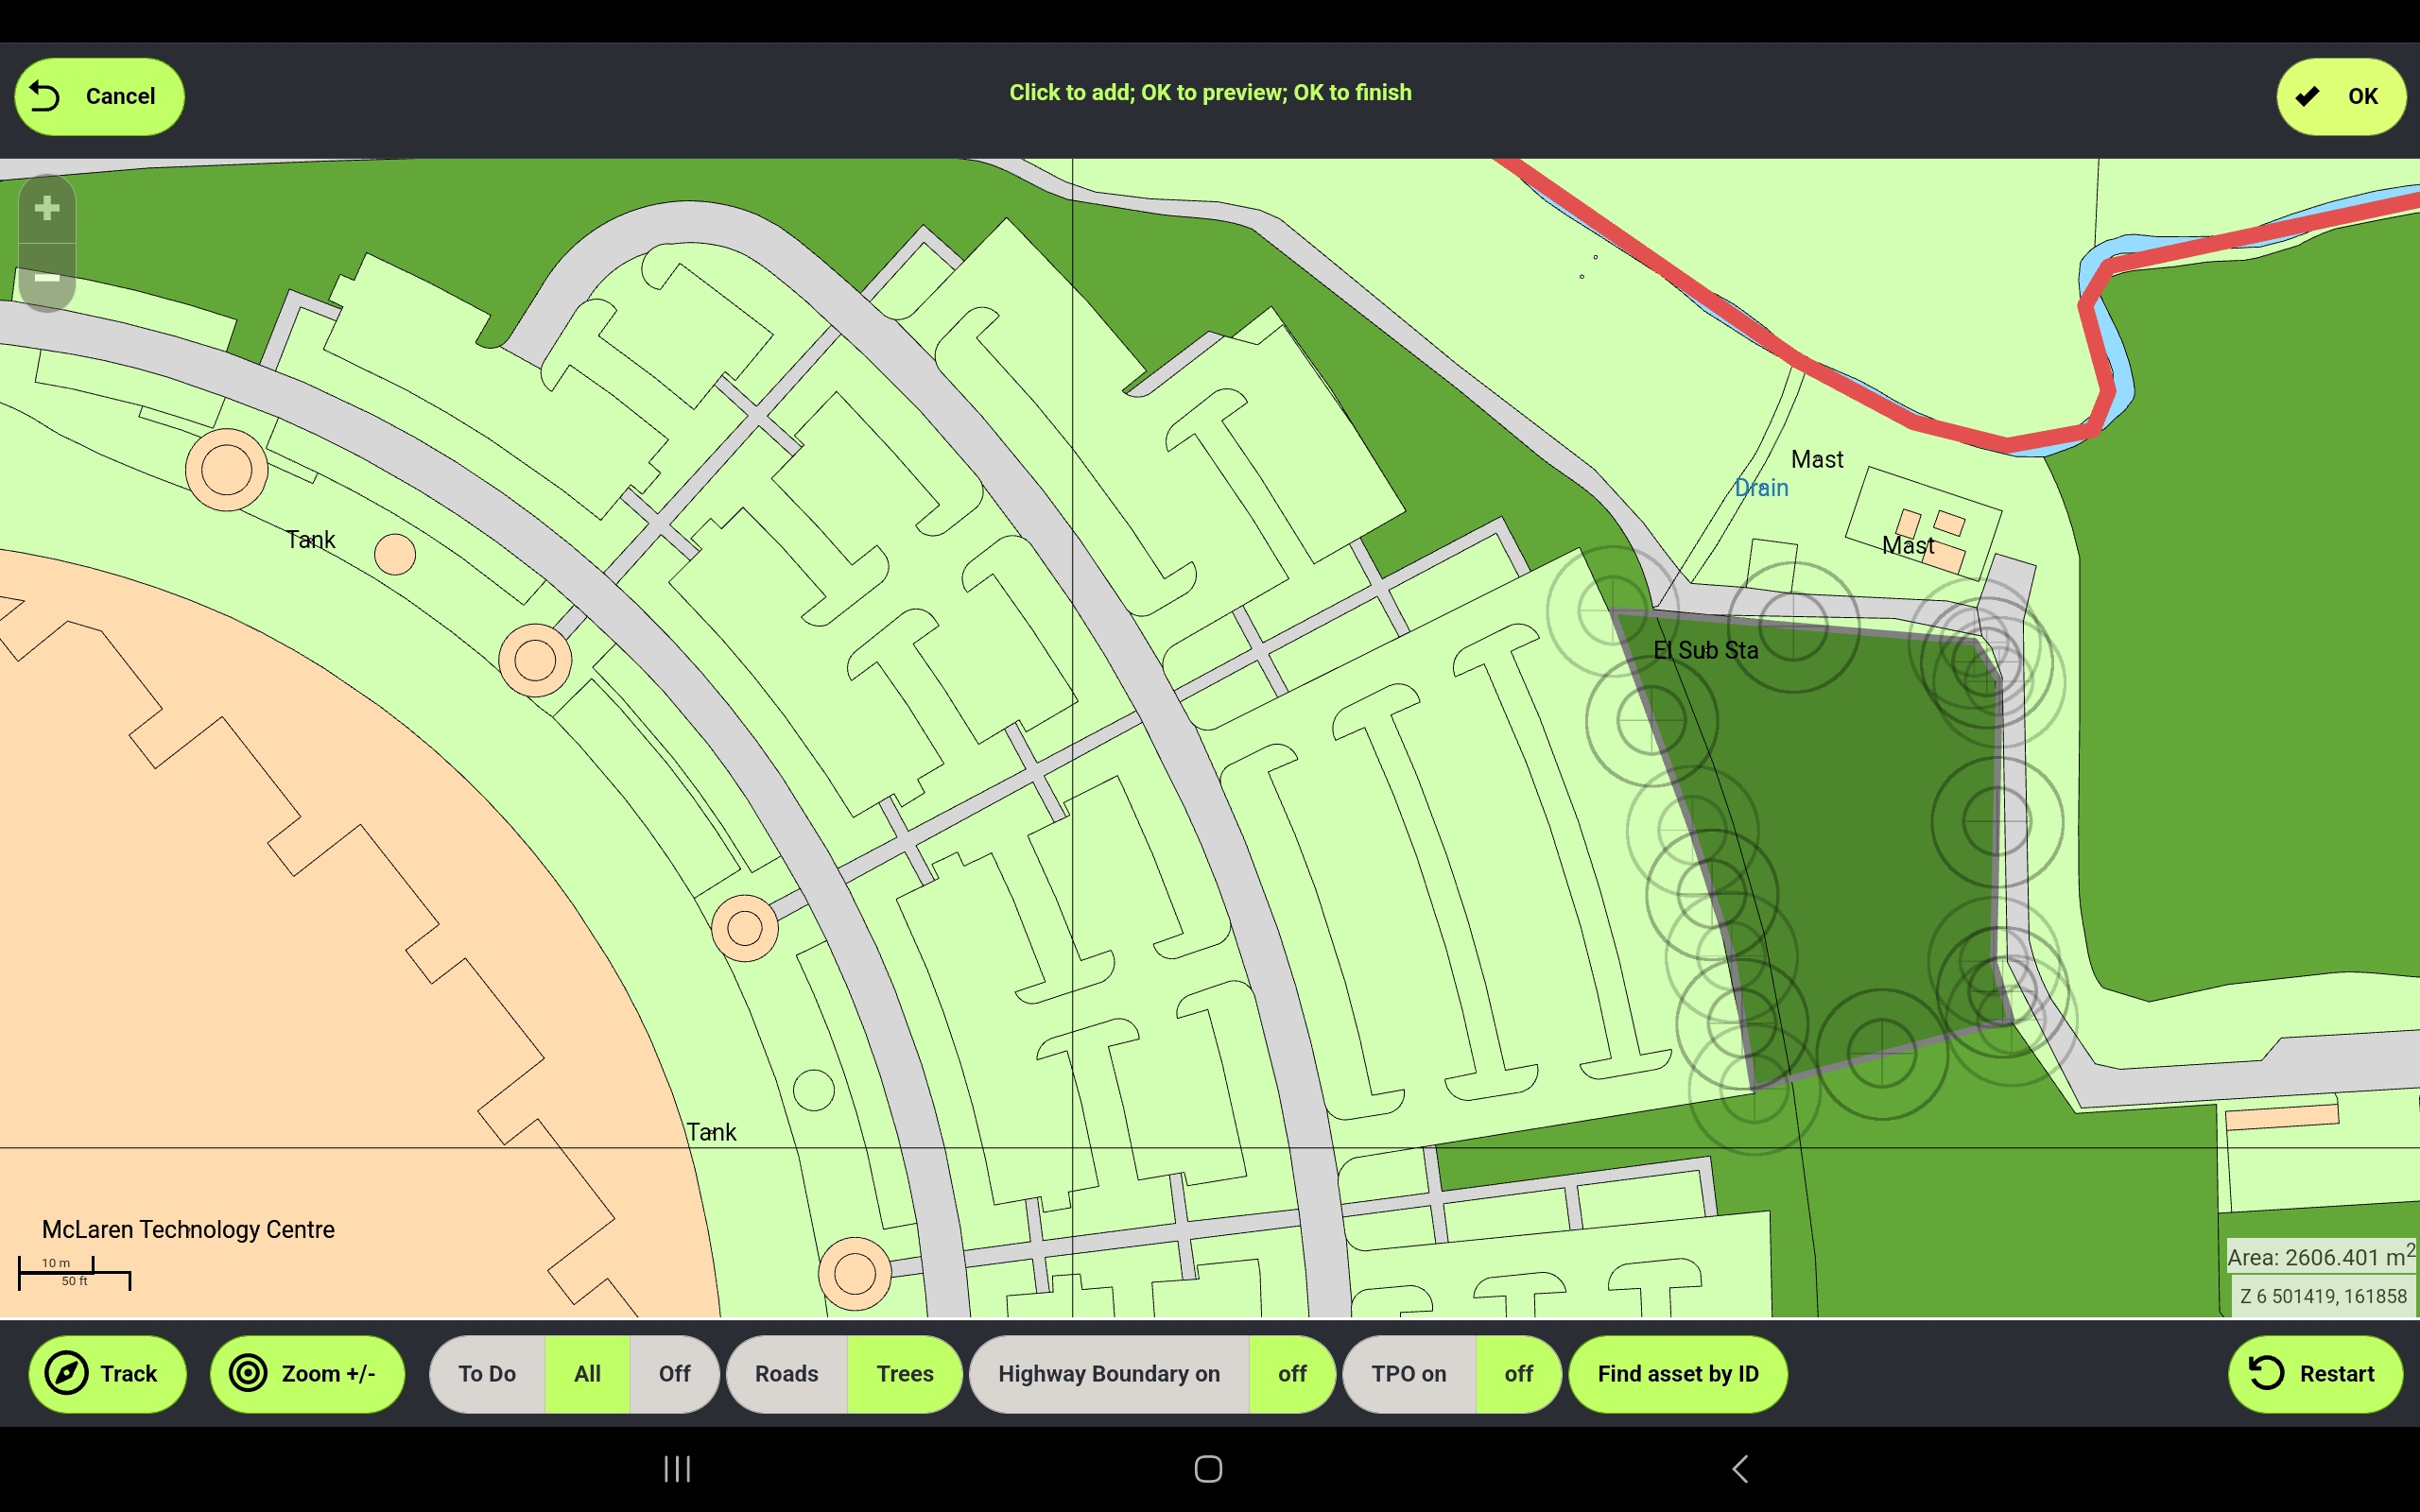
Adding Tree Groups
When adding a tree group, no target will appear. The system needs you to define a polygon that encompasses the area of the tree group.
Tap one corner of the tree group area. The target will appear over this first point
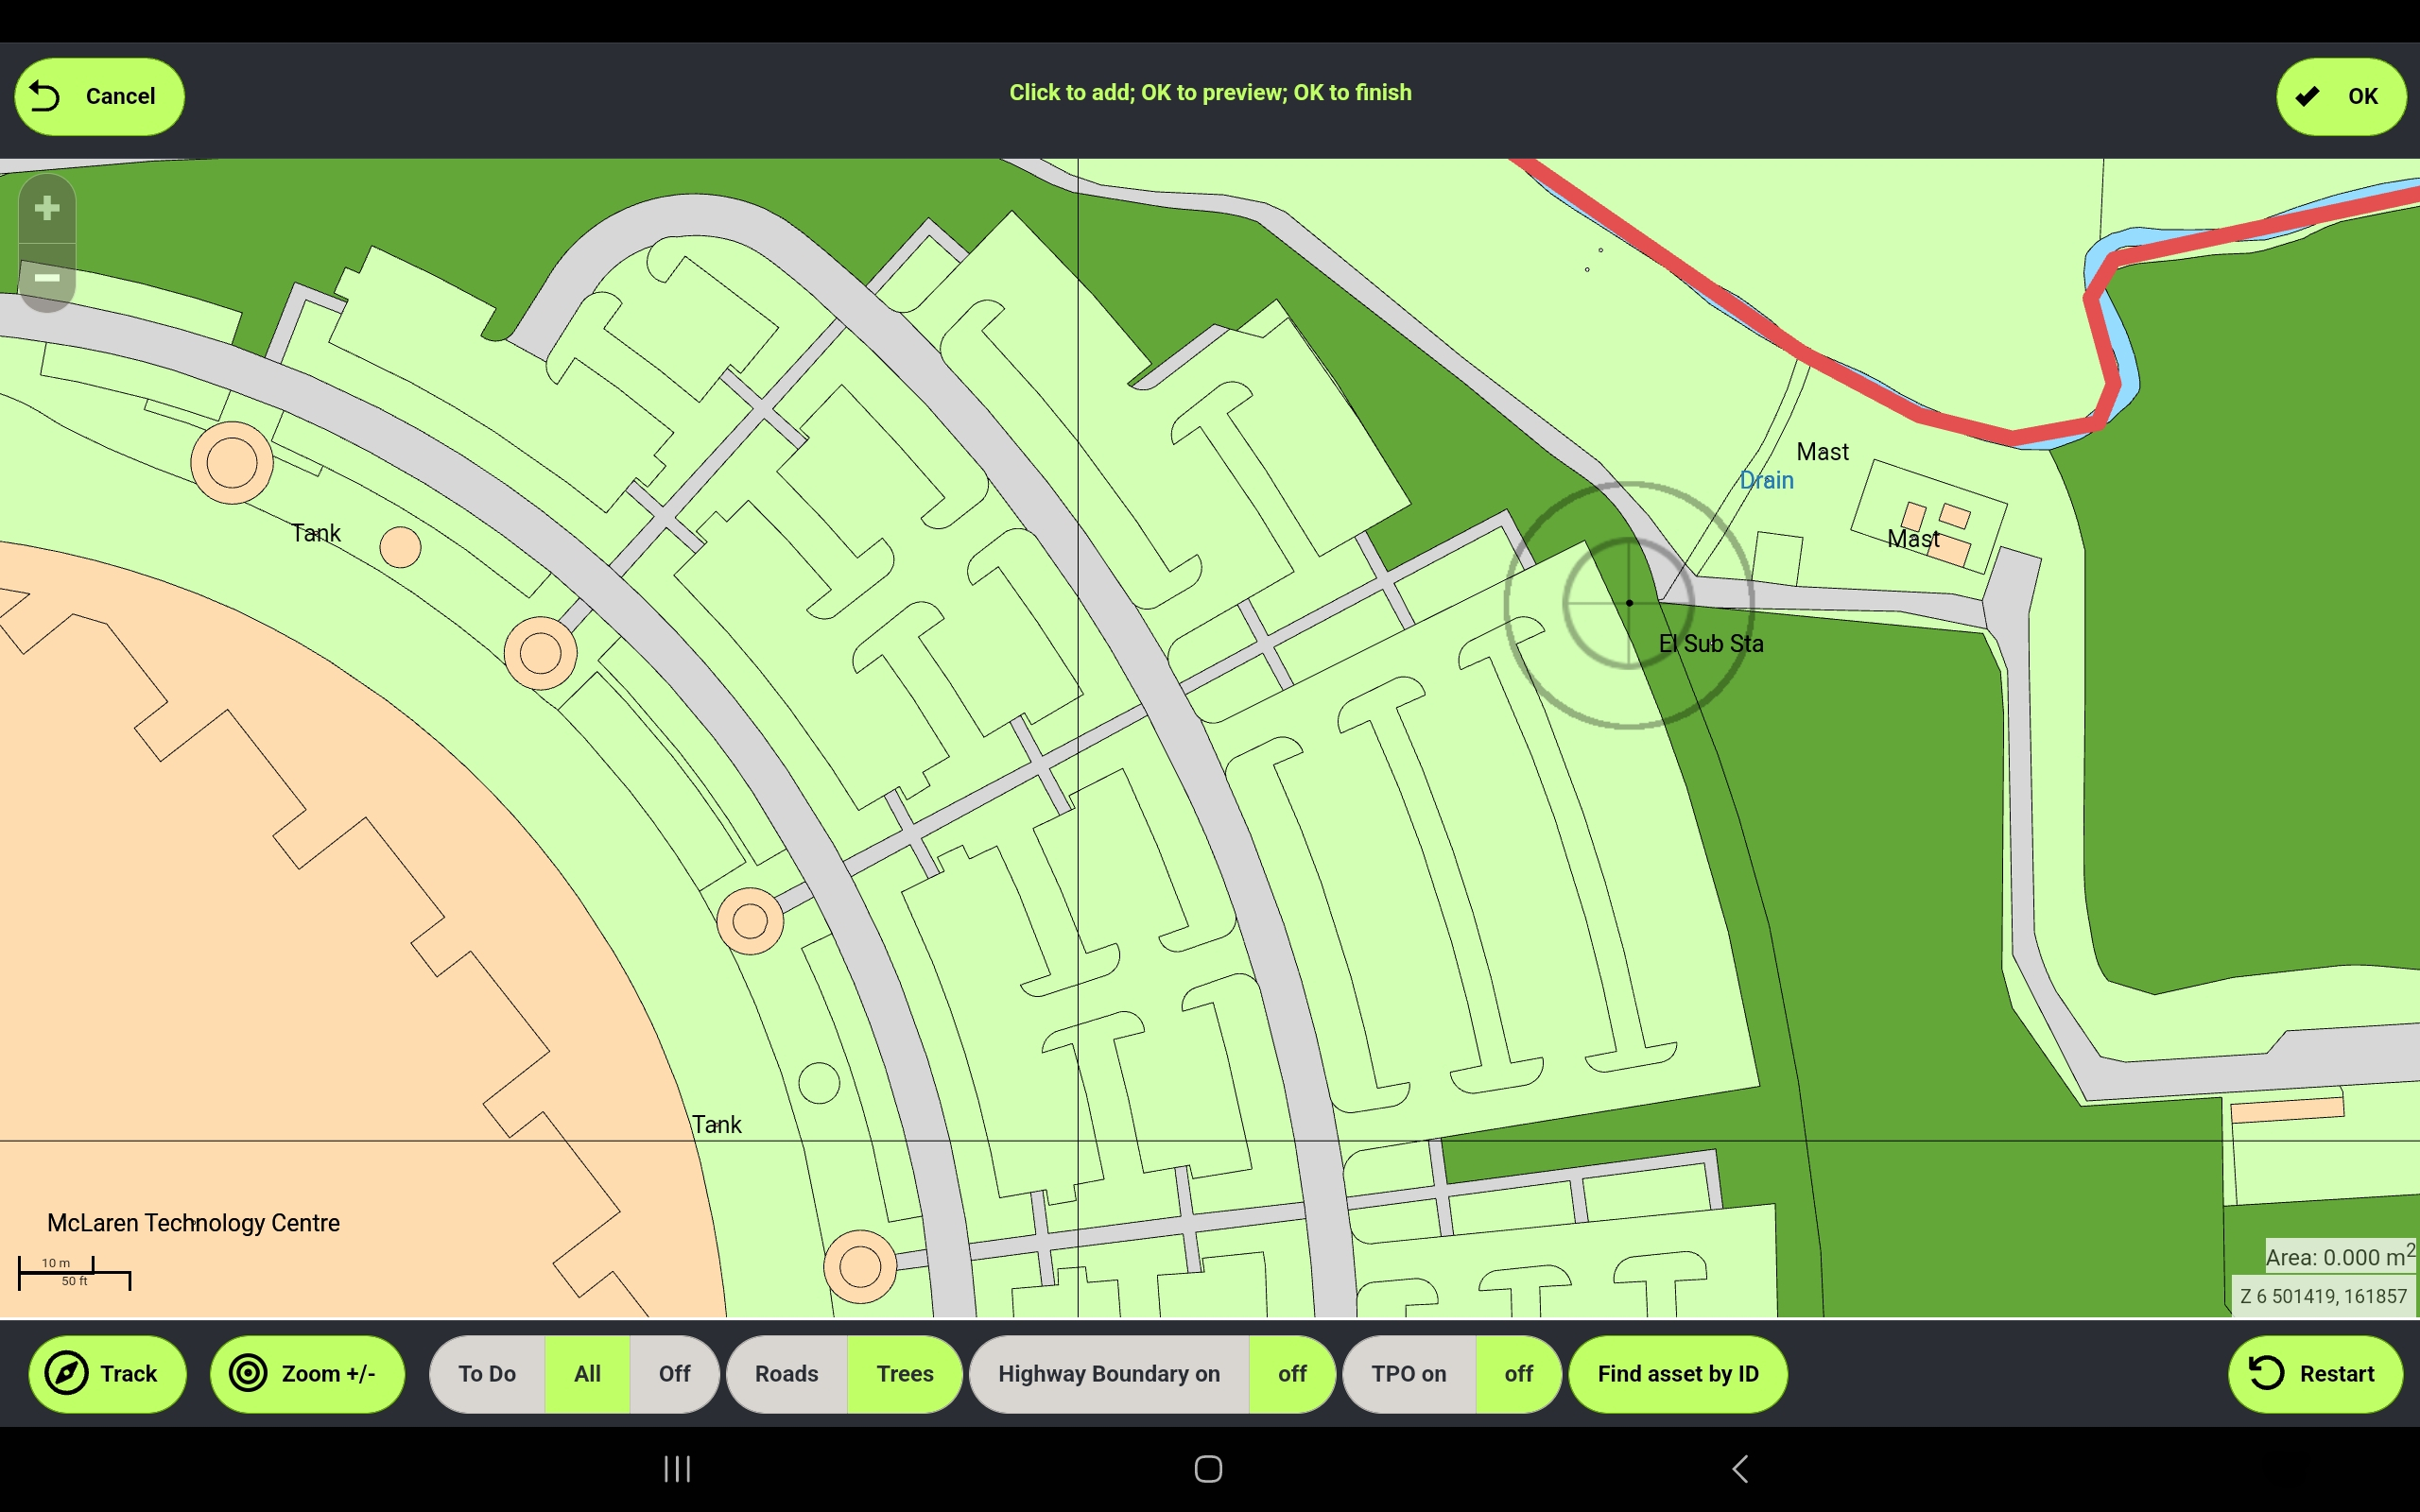
Tap the next corner of the group area. The first point will remain and the target will move to the next point. You MUST define at least three points to create a valid group.
Repeat the process, tapping each corner of the area until you have defined the entire area with the polygon on screen.
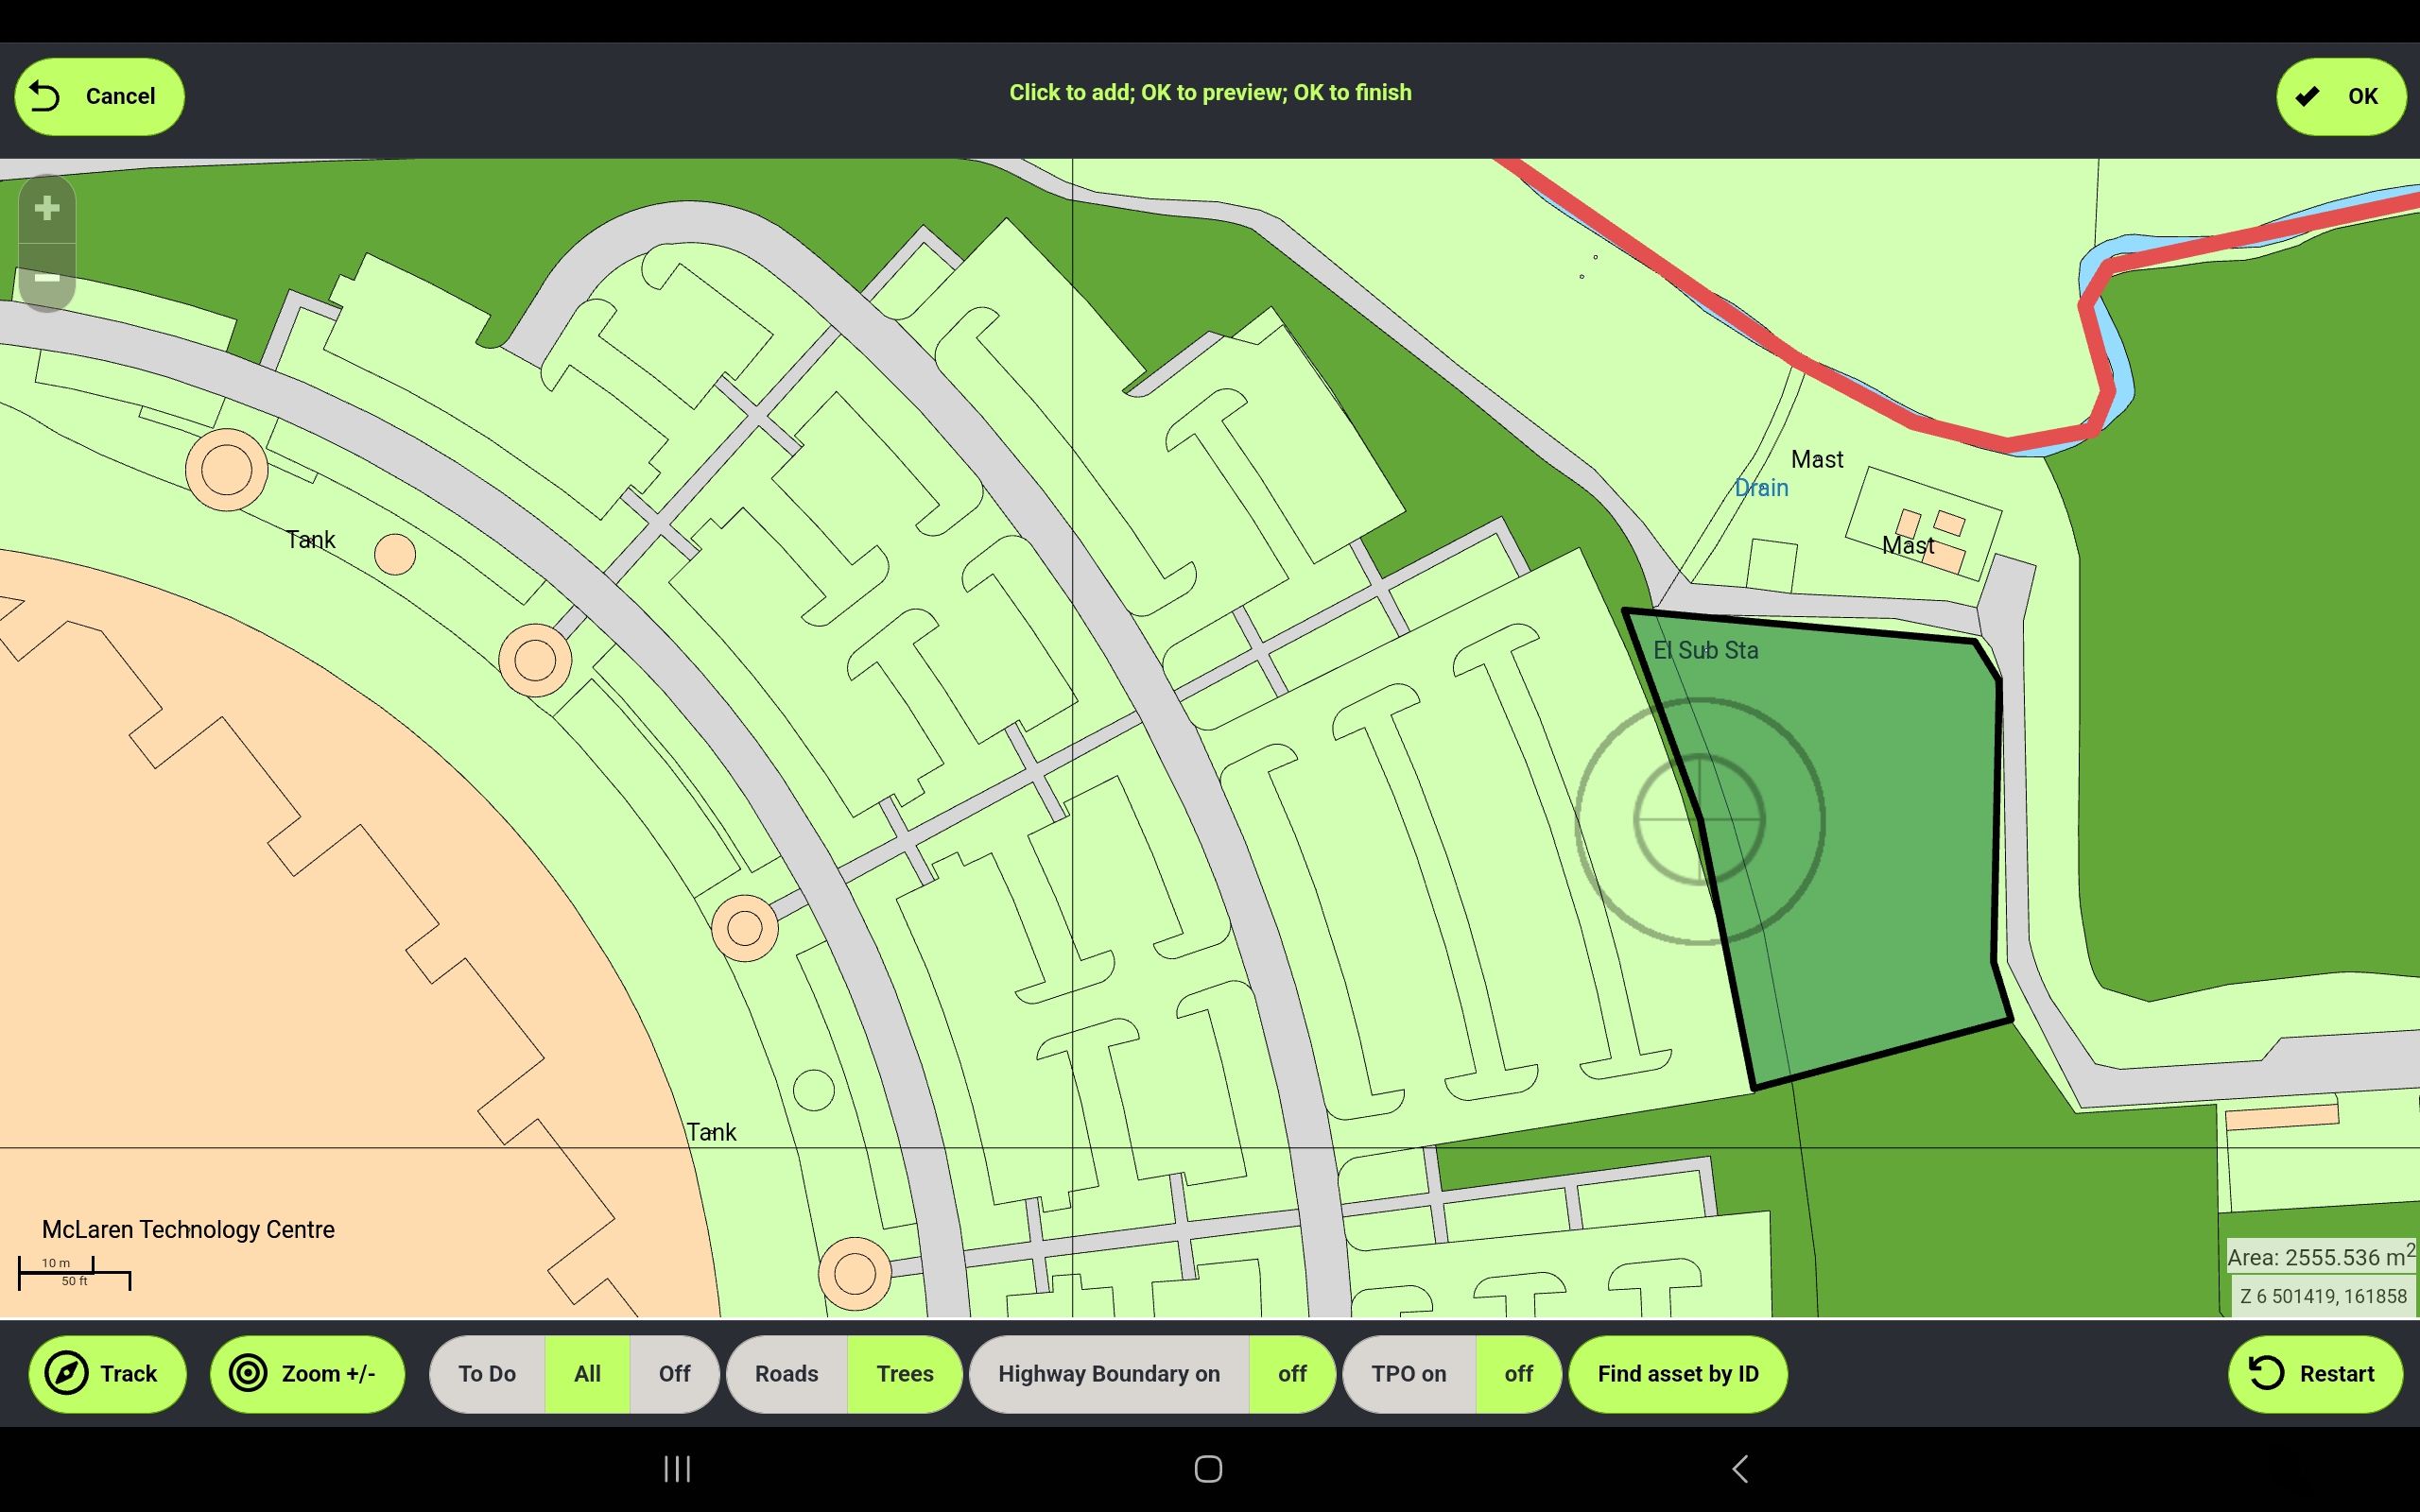
Tap OK.
If you are not happy, you can drag the points to move them. This allows you to move the corners and the centre points of each edge to make the group as accurate as possible.
When done, tap OK and complete the inspection on the new asset as normal.
Note: When drawing the polygon for a group, you can tap as many points as you need, allowing you to draw curved edges and the like. Just make sure that the lines DO NOT cross each other at any point.